Get Started with BIMcollab Twin for Users

Get Started with BIMcollab Twin for Users


BIMcollab Twin offers model-based document and asset management to store, manage and share building and infrastructure data. A Digital Twin platform to create and work together on data and to easily involve stakeholders. BIMcollab Twin drives BIM adoption and model-based collaboration in your projects.

This article begins with a guide on activating your account, followed by an overview of the BIMcollab Twin user interface. In the final section, we explore key features that will help you make the most of BIMcollab Twin's capabilities, ensuring a smooth and productive experience.

Do you prefer more hands-on learning? Go to our BIMcollab Academy and enroll in the BIMcollab Twin User Course.

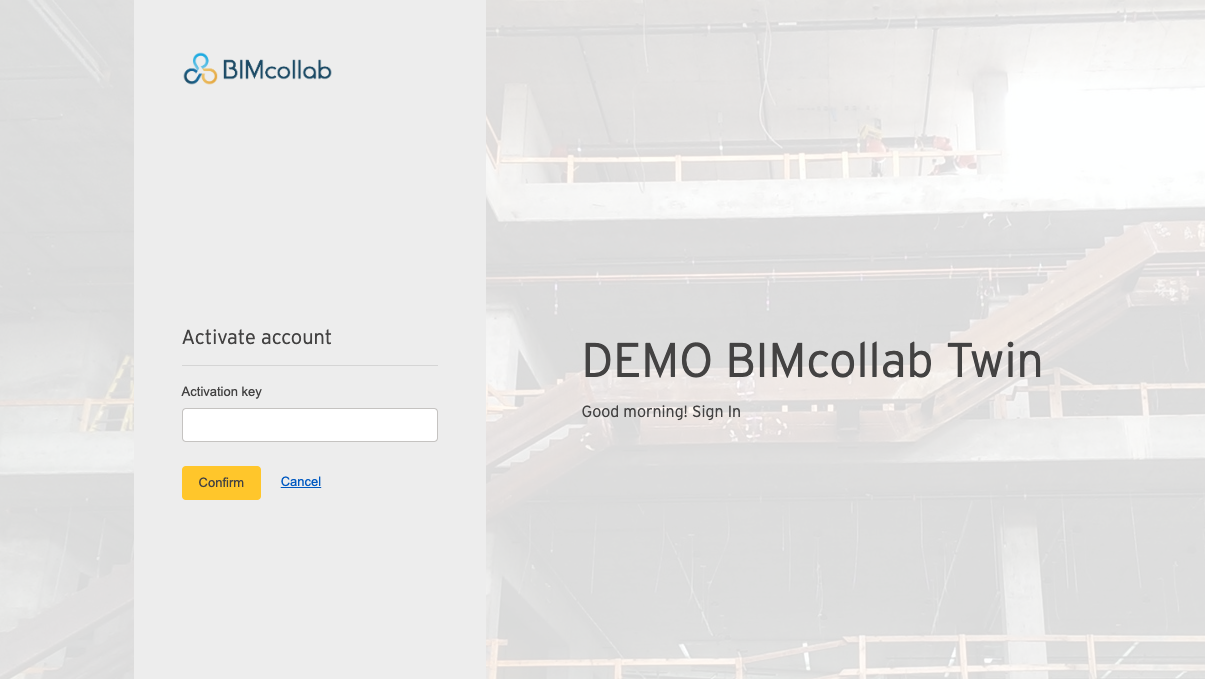
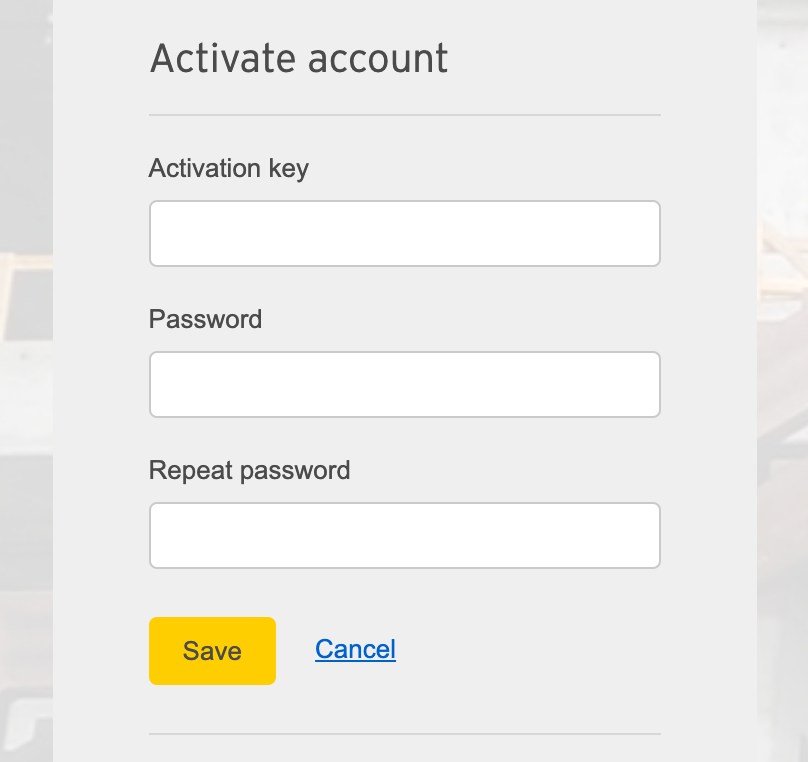
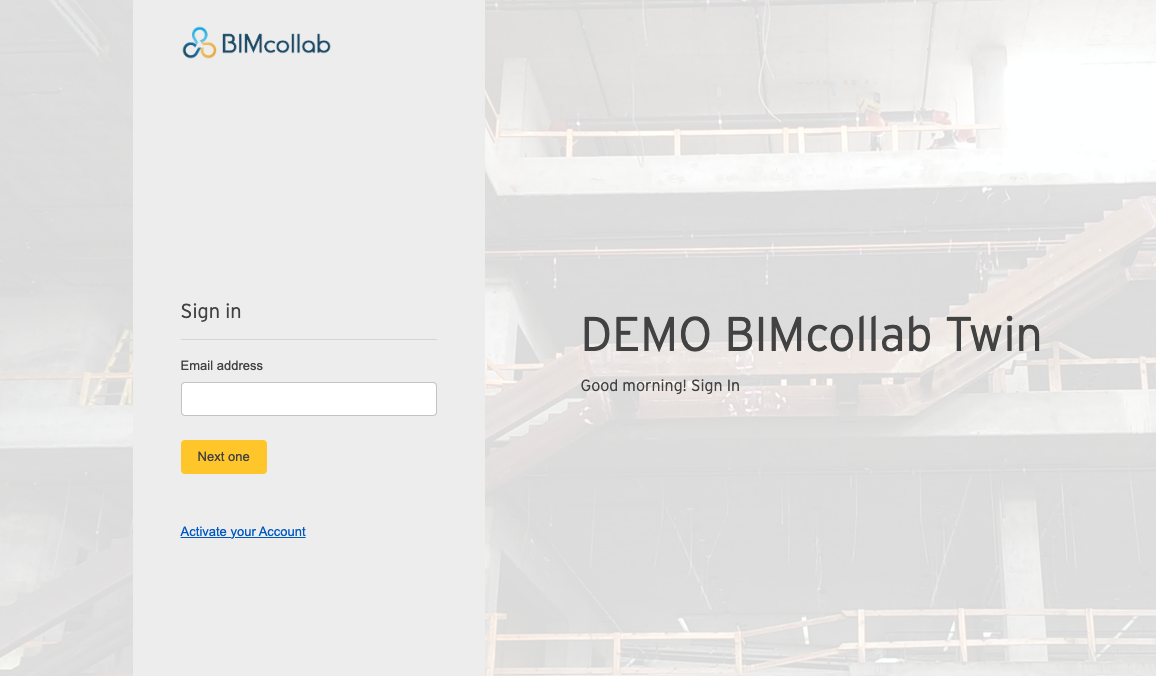
Activate Account as New User

If you haven't joined BIMcollab Twin yet, your space administrator will initiate the creation of your user account. Expect to receive an email invitation containing an activation link to get started. You will first need to enter an activation key on the Twin homepage. Upon clicking the activation link in the invitation email, the activation key will be automatically entered into the respective field.


Next, you will be asked to enter your email credentials, as well as create a password to access the space. 


Once your account is activated and you have set up a password, you can log in to your space using the credentials of your newly created BIMcollab Twin space account. 


In a BIMcollab Twin space, there are Space Administrators and Regular Users. Space Administrators have full control, managing projects, users, and settings. Regular Users, with the appropriate User role permission, can view and interact with project data, ensuring secure management and effective collaboration. If you need your permissions changed—for example, if a module, location, or project is not visible—you can contact your Space Administrator to adjust these settings. 

BIMcollab Top ribbon

This Ribbon is always positioned on top of the BIMcollab webpage, offering convenient access to a range of functionalities. We will explain each feature below.


1. My projects

We can open “My projects” by clicking this icon. On the left side of the screen, a vertical directory opens, with an overview of all projects you are participating in. BIMcollab Twin has a spatial structure that starts with 'Locations'. Locations also contain elements like plots, buildings, and storeys. 'Projects' are then established within these locations and organized by the account Administrator into 'Phases' that reflect the project’s stages.
This vertical window conveniently displays locations, projects, and phases for easy document access and navigation. To close the vertical menu, click on the 'My Projects' icon again.


Similarly, Located at the top of the screen, the horizontal navigation bar allows you to switch between Location, Project and Project phase you are working on. Click on the text of the horizontal bar to expand the menu with an overview of all locations, projects and phases you have access to. 


2. Toggle to BIMcollab Nexus

If your project also exists on BIMcollab Nexus, and you are a team member on that project as well, you can see this toggle to access your BIMcollab Nexus account directly from the BIMcollab Twin page. The same toggle is available on the BIMcollab Nexus account pages, providing a convenient way to return to your BIMcollab Twin space. 


Curious about BIMcollab Nexus? Look into this article to learn more: Quick Start Guide BIMcollab Nexus

3. Dashboard

BIMcollab Twin's Dashboard provides a starting point for all of the latest information and activities within your project. 
The overview of your project data depends on which level of the project structure you've selected. You can see an overview either at the Location level, Project level or Project Phase level.
From here, you will be able to see an overview of the various critical communication items that exist in your project, including: Questions (A), Tasks (B), Audit Tasks (C) and Reviews (D). You also have an overview of the latest Document activity (E) in your project, including information such as Document number, Description, Document Date, Version Date, Version Number, Status, and who added the document.


4. Model

Models that are uploaded in the 'Documents' section of a BIMcollab Twin project phase, can be shared so they can be viewed in the BIMcollab Model WebViewer. Once a document is shared with the WebViewer you will be able to see it in the Model tab. The Twin Model WebViewer includes three main panels which can be easily hidden or revealed based on your requirements: Navigation panel (A), Property panel (B), and Attach documents panel (C).
You can learn more about the features of BIMcollab Model WebViewer for Twin in this article: Quick Start Guide BIMcollab Model WebViewer in Twin


5. Documents

To access the document management module within BIMcollab Twin, simply navigate to 'documents' tab and select the required phase or project from the "My projects" sidebar. Documents module is divided into a few sections: Menu (A), Document type (B) and Project structure (C).
Note that the what previously was the Realization module is now merged with the Documents modules. 
The menu (A) offers various functionalities and filters for managing your documents, including those related to Realization (a). Document type (B) is available to give quick access to your desired documents by making a distinction between the several types of documents. The structure of the project phase is visible under the spatial project structure (C), with the plots, buildings and floors to which documents can be linked. 

You can learn more about the document module here: Documents module 


6. To do's

The "To do's" module captures communication within BIMcollab Twin. To access the To do's module within BIMcollab Twin, from "My projects" page select the required phase or project, and click on the "To do's" module. All project communication items are documented and accessible to project stakeholders from this module. A transparent workflow is fundamental in Twin, as communication transparency ensures everyone has insight into ongoing discussions and tasks. 
The "To do's" module is divided into three sections: Menu (A) where various communication items like questions, tasks, and notes are available; My Items (B) which lets you filter To-do items to find those relevant to you or your company; "Status, Label, Comments, Type (C)" where additional fields appear based on the selected communication type, allowing for further filtering. Read about the To do's module in this article: To do's module


7. Settings 

In this section, a user can view the settings and users relevant to each project and its phases. Settings such as workflows and document naming conventions applied to each phase or project can be viewed here. However, only administrators are able to change these settings.


8. Administrator portal

This Gear icon  is only visible to the space admins and it grants them access to administrative functions. After clicking the Gear icon, the top ribbon changes from dark blue to red, entering the administrator portal. Read this article to get started as a BIMcollab Twin administrator: Get Started with BIMcollab Twin for Admins

9.   Help Center

The question mark icon opens a world of resources. Explore the Help Center to enhance your understanding of BIMcollab best practices. 


10.  My account

The avatar icon serves as a visual representation of each user's account. Users can upload a picture to personalize their profile. The dropdown menu associated with the avatar provides access to "my account" and the "log out" button for ending the session.
"My account" allows users to manage their personal information, preferences and notifications. Here you can click on Project environment (A) to go back to main page or select My notifications (B) and My details (C). 


Essential Features to Get You Started

This section will help you understand how to effectively manage and communicate about your project documents, as well as work with 3D models using the BIMcollab Model WebViewer. 

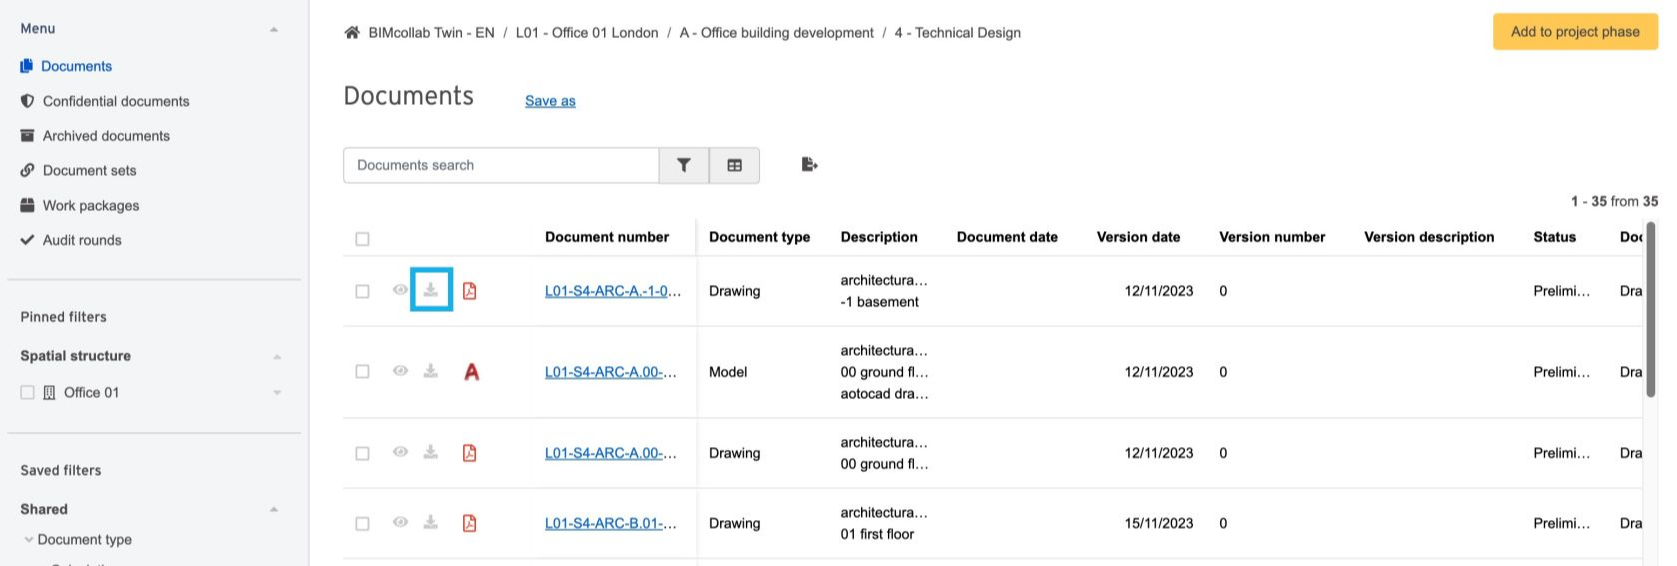
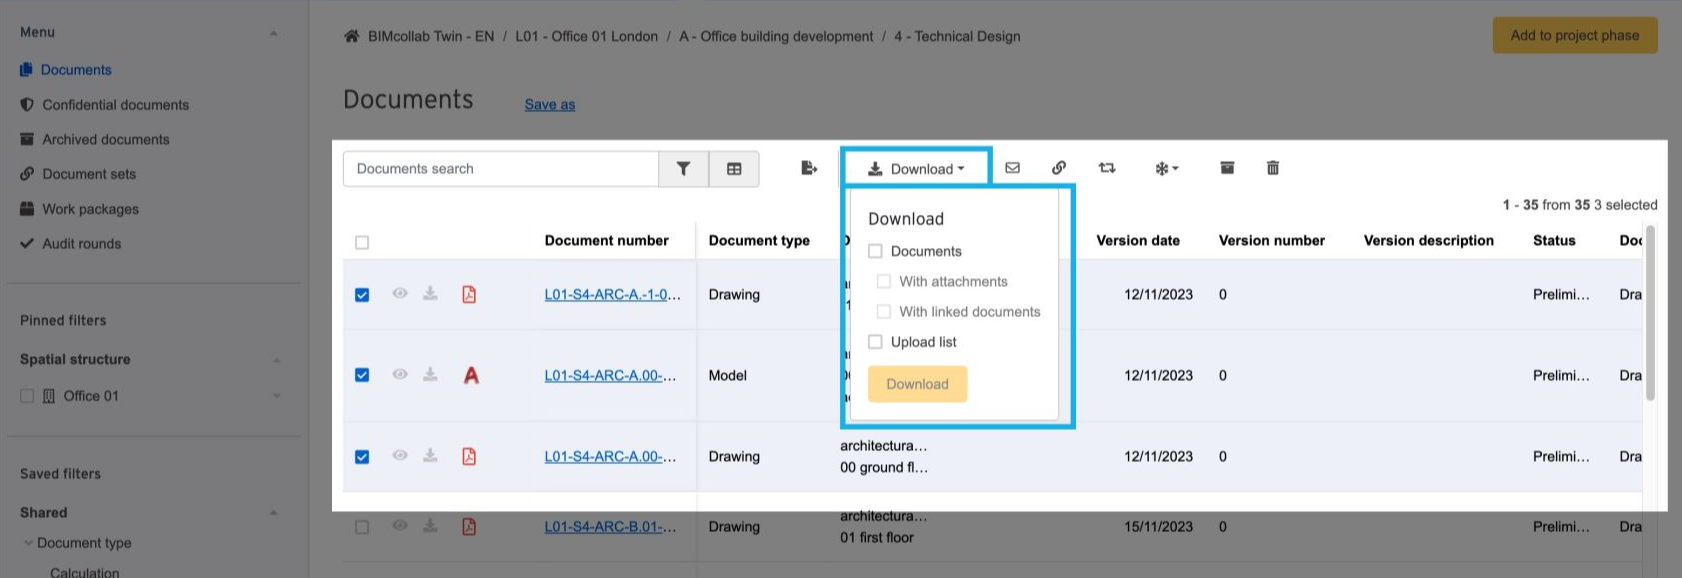
Viewing, downloading and uploading documents

  1. Uploading
At the top right of the screen is the button for adding (1) documents to a project phase. The path in the navigation menu (2) determines the space, location, project or project phase where the documents will be placed. Thus, it will be necessary to navigate to the right place on BIMcollab Twin before documents can be placed. For example, if documents are to be placed in different phases, they must be split up and uploaded to their respective phase. 
To upload documents, after clicking on the Add button, you can drag and drop files or use the "Choose files". Click "Upload" to submit your files. In the next steps you should add metadata to each document to finalize the upload. Information for uploaded files can be filled in manually or automatically through a special upload list (Excel file). 


  1. Viewing 
In BIMcollab Twin, users can efficiently manage and preview documents such as images, PDFs, and DWG files directly within the application. Navigate to the Documents module and access the Documents overview and Look for the view icon  next to the respective file types. Click on the icon to display the document preview. To learn more refer to this article: Preview, annotate, and collaborate on documents in BIMcollab Twin


Looking for a specific document? Learn more about search and filtering features in this article:  Customizing columns in a document list and using filters
  1. Downloading 
In the document overview, you can click on the download button next to the name of the document. The document will be saved in the 'Downloads' folder of your device.  


If you want to download multiple files at the same time, select them from the overview page and choose the download settings from the download menu. Downloading multiple documents is only available at phase level within the spatial structure. 


Communicate with your team about documents

Effective communication about documents is crucial for project success in BIMcollab Twin. Here’s how you can streamline your interactions:
  1. Questions: Raise questions about general items or specific documents directly within BIMcollab Twin. Once the responsible party provides a response, you can approve or reject it based on its adequacy.
  1. Tasks: Assign action items to specific team members, such as requests to update information or adjust project elements. Once completed, the responsible party can mark the task as done, allowing you to review and approve their response.
  1. Notes: Use notes to add general remarks or observations that don’t require action. Notes are shared with the team through the 'Informed' field, ensuring everyone stays updated.

You can create communication items (questions, notes, or tasks) in two ways within BIMcollab Twin:
General Communication: Created in the To do's module of the relevant project for broader discussions.
Item-Specific Communication: Added and attached directly to a specific document or element for more precise feedback and tracking.

Learn how to add these items from this article: Adding communication


  1. Notifications: Receive automatic notifications when new items are added or updated. These notifications appear in your overview if you are listed as a recipient, keeping you informed of important changes.
  1. Audit Tasks and Reviews: Workflows automate project approval processes for documents, turning various tasks into automated sequences. While only space administrators can set up and edit workflows, regular users interact with them by fulfilling the created tasks. Audit Round creates multiple audit tasks for stakeholders to provide feedback within a set deadline. The outcome determines the next step in the workflow. Review Task assigns tasks to users who will approve or reject a document. The workflow progresses when the first responsible person completes the task.
  1. Revisions: Assign documents for revision and track their status. When a document is put under revision, it is effectively "frozen," ensuring that all changes are captured and managed systematically. You can learn more about Revisions Here

Working with models

The BIMcollab Model WebViewer allows you to view and interact with IFC files within your project. Follow these steps to make the most of its features:

  1. Access the WebViewer: Go to the "Model" tab in your BIMcollab Twin project to open the WebViewer.

  2. Navigation Panel: Use this panel to open models, tag them and navigate through them. You can view and explore various model components under "Objects."

  3. Property Panel: This panel displays the properties of selected models or objects, providing detailed information as you interact with the model.

  4. Attach Documents Panel: Link relevant documents to specific elements within the model, facilitating easy access to related files and information. Attach documents to 3D model elements

  5. Add models to the WebViewer:  Models that are uploaded in the 'Documents' section of a BIMcollab Twin project phase, can be shared so they can be viewed in the BIMcollab Model WebViewer.


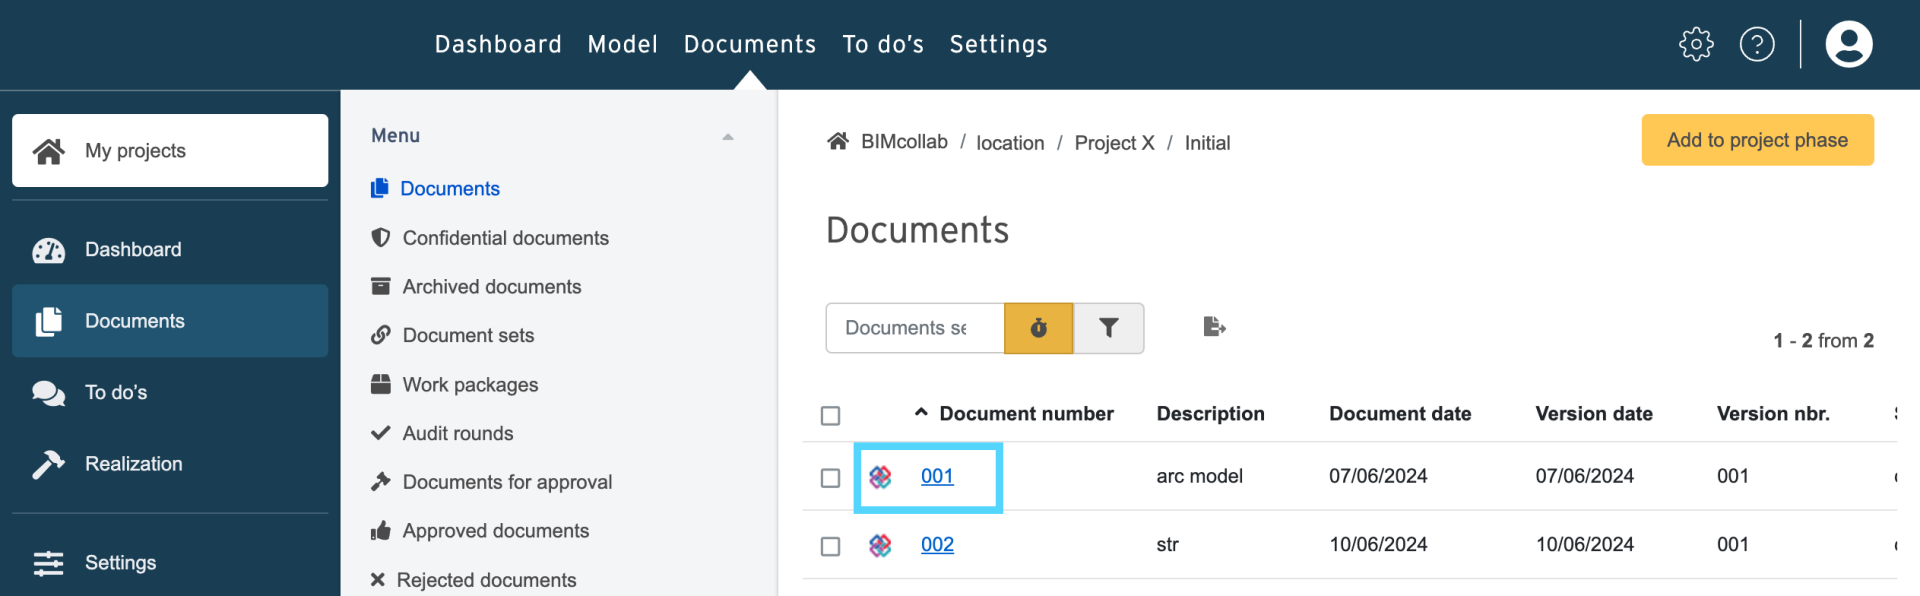
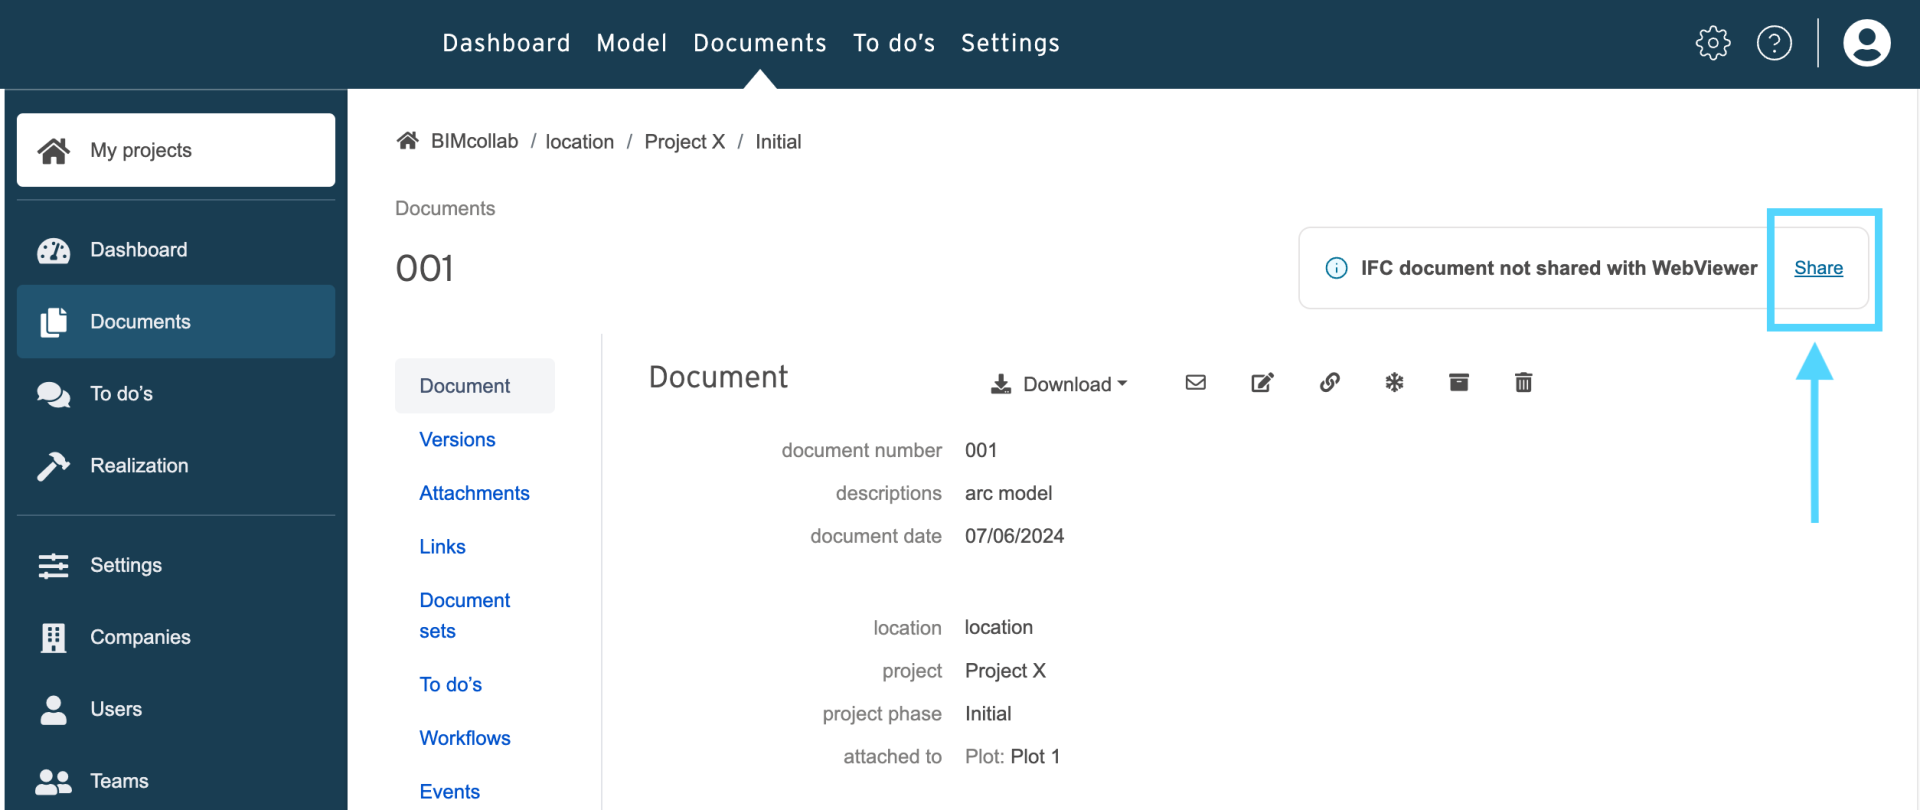
    Once a document is shared with the WebViewer you will be able to see it in the navigation panel.
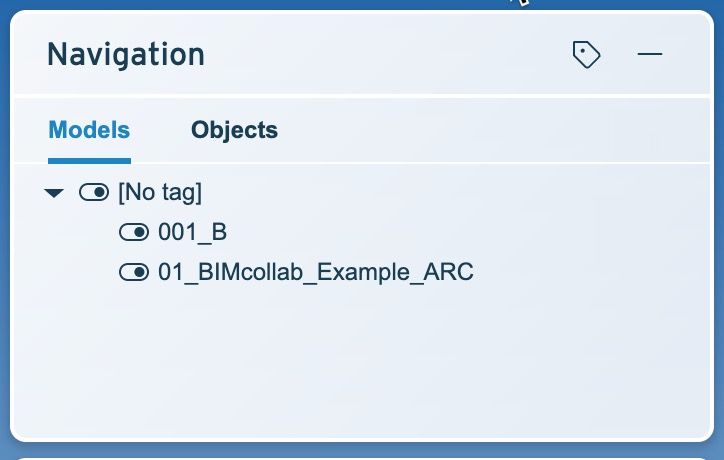

    • Related Articles

    • Get Started with BIMcollab Twin for Admins

      This Get Started guide describes the functionalities and configuration of your BIMcollab Twin space. It will get you up and running in no time. Your space has already been activated by our team. When ordering a space, you were asked to provide ...
    • Integrations for BIMcollab Twin

      It is possible to seamlessly link your information stored on BIMcollab Twin to a number of other applications and platforms. Thanks to our Open API, this enables you to work many of your favourite apps within your preferred linked ecosystem. This ...
    • API BIMcollab Twin Quickstart

      This article provides a quick start description of the BIMcollab Twin Public API. With the BIMcollab Twin API you can access information about documents like metadata, and/or download them. Also you can access and create 'to do’s' via the API. ...
    • Workflows in BIMcollab Twin

      Workflows are designed to translate the various document coordination processes within a project into an automatic sequence of tasks. They can be added at either location, project or project phase level by the space administrator who is also ...
    • BIMcollab Twin Accounts

      Each account on BIMcollab Twin contains information from construction projects, stored in its own database, accessible to project participants. The accounts are accessible via their own web address, with their own subdomain: [account-URL].bimlink.nl. ...